
Install Rails
https://support.focalheat.co/rail-installation/
On this page
- Before you start
- About the rails
- What’s in the mounting kit
- Rail placement over the table
- Watch the video
- Mount the rail
- Different mounting methods
- Post-mount checks
- Plug in the rail
Before you start
Read Safety & Clearances before you begin. It covers the minimum clearances this install has to meet.
The site plan specifies where each rail goes and how long it is. Confirm the exact location against the plan before you mount anything.
Heaters slide on and off only at the opening end of the rail, the end opposite the cord-exit end. Leave at least 4” past the opening end to slide a heater on, clear of walls, posts and beams.
Confirm the mounting surface is solid and can hold 300 lb
Mount to anything that flexes or isn't rated for the load.
Do not power on the rail until mounting is complete and clearances are verified.
About the rails
The rail holds the individual Focal heaters, which can be installed after the rail is up. Rails come in three lengths:
| Rail | Actual length | Max heaters | Max current | Receptacle |
|---|---|---|---|---|
| 4 ft | 53.5” | 2 | 15A | NEMA 5-15R |
| 6 ft | 80.5” | 3 | 20A | NEMA 5-20R |
| 8 ft | 98.5” | 3 | 20A | NEMA 5-20R |
Each rail has a T-slot running its length for T-nuts, and an 8-foot built-in power cable. Focal offers mounting hardware but off-the-shelf hardware also works utilizing the T-slot.
What’s in the mounting kit
Every rail ships with the same kit: two pre-built rail blocks, two of each overhead bracket, plus fastener options for whichever mount and fastening method suit your structure.
Rail blocks
Two per rail, pre-built. These slide into the rail’s T-slot, and the dropdown pipes seat into them.
| Part | Qty |
|---|---|
| Parallel bracket | 1 |
| T-nut, 1/4-20 | 1 |
| Set screw, 1/4-20 x 5/16” | 2 |
| Flat-head screw, 1/4-20 x 1.125” | 2 |
Overhead brackets and pipe
The brackets fasten to the structure and hold the top of each dropdown pipe. Pick one type, parallel or perpendicular, and use two per rail. See Mount the rail.
| Part | Qty | Use |
|---|---|---|
| Parallel bracket | 2 | Ceiling mount, underside of a member |
| Perpendicular bracket | 2 | Beam/joist mount, vertical face |
| Set screw, 1/4-20 x 5/16” | 4 | Clamps pipe into bracket |
| Dropdown pipe, 6 ft | 1 | Cut to drop length (up to 3 ft) |
Through-mount fasteners
Nut on the far side. Pick the screw length for your material thickness.
| Part | Qty |
|---|---|
| Flat-head screw, 1/4-20 x 1.5”/2.5”/3.5” | 4 each |
| SAE washer, 1/4” ID | 4 |
| Nylon lock nut, 1/4-20 | 4 |
Wood screws
For solid wood where you can’t reach the far side.
| Part | Qty |
|---|---|
| Wood screw, #12 x 2”/3” | 4 each |
Tools
One of each.
| Tool | Drives |
|---|---|
| 1/8” L-wrench | Set screws |
| T30 L-wrench | Machine screws (1/4-20 flat-head) |
| T25 screwdriver bit | Wood screws |
Rail placement over the table
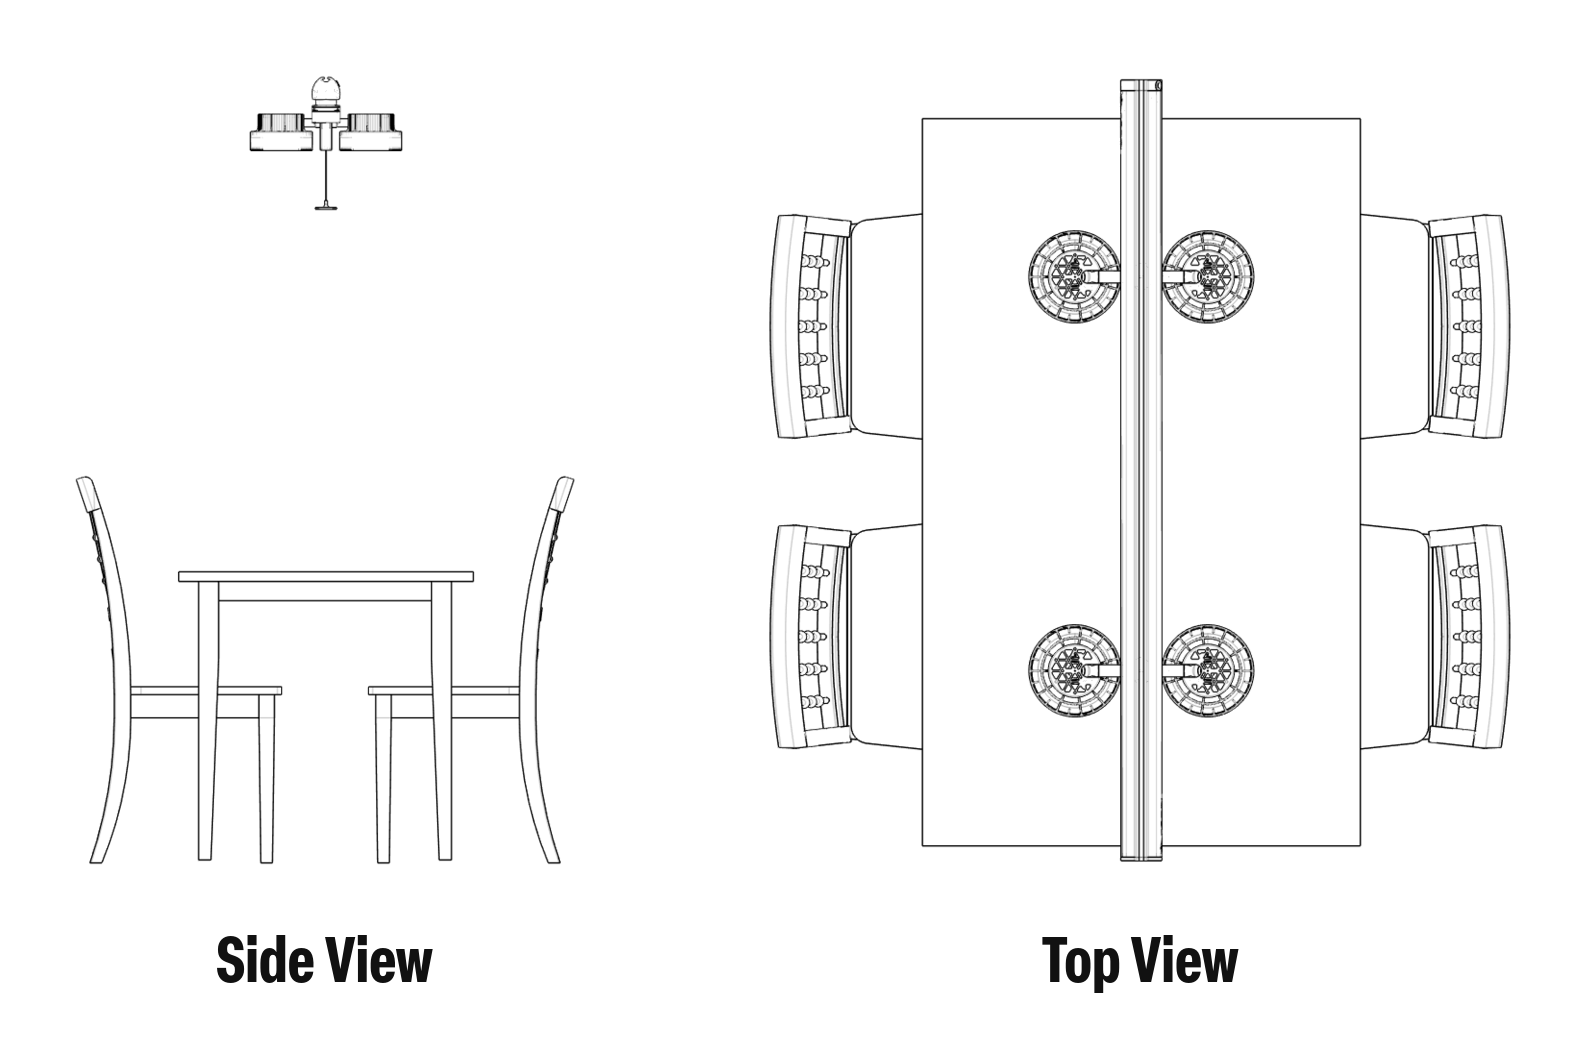
Ideally the rail runs down the center of the table, so heat hits the middle of each guest’s chest, not the top of their head. If the rail has to be off-center, Focal can angle the heaters toward the guests. Contact Focal to arrange it.
Watch the video
Watch the full video once before you start. Refer to the step-by-step written instructions below.
 Watch this step at https://support.focalheat.co/rail-installation/#mount-video
Mount the rail
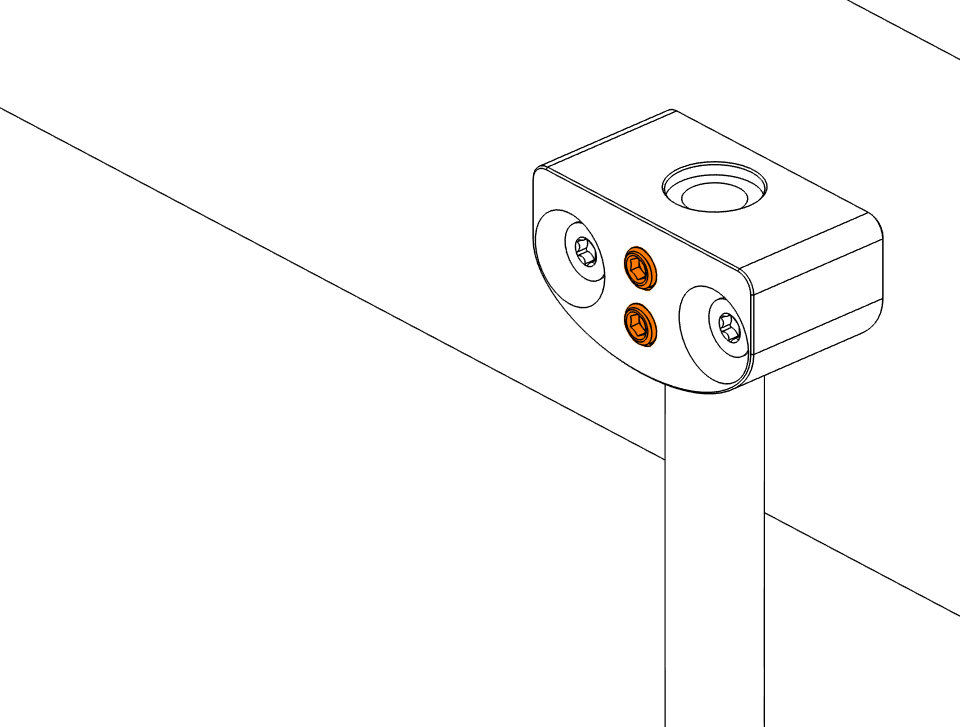
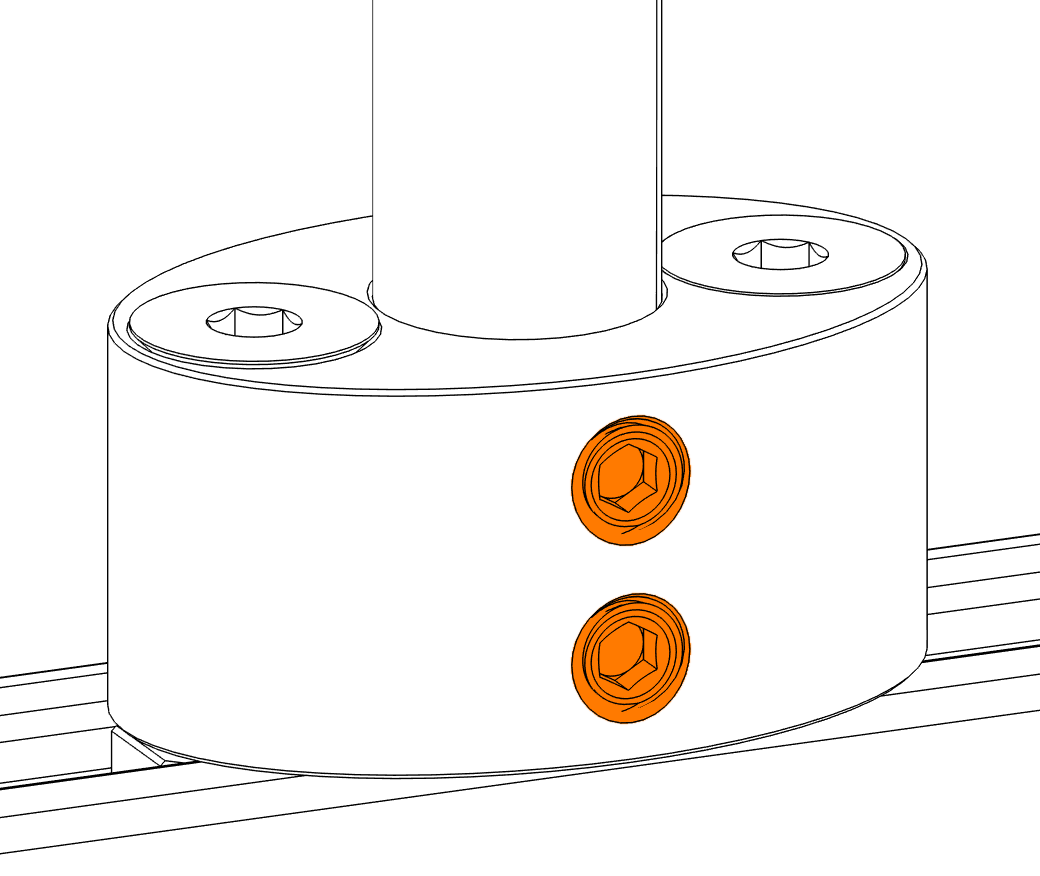
Keep the T-nut screws on top loose so the blocks can slide, and make sure the set screws are backed out enough for the pipe to fit.
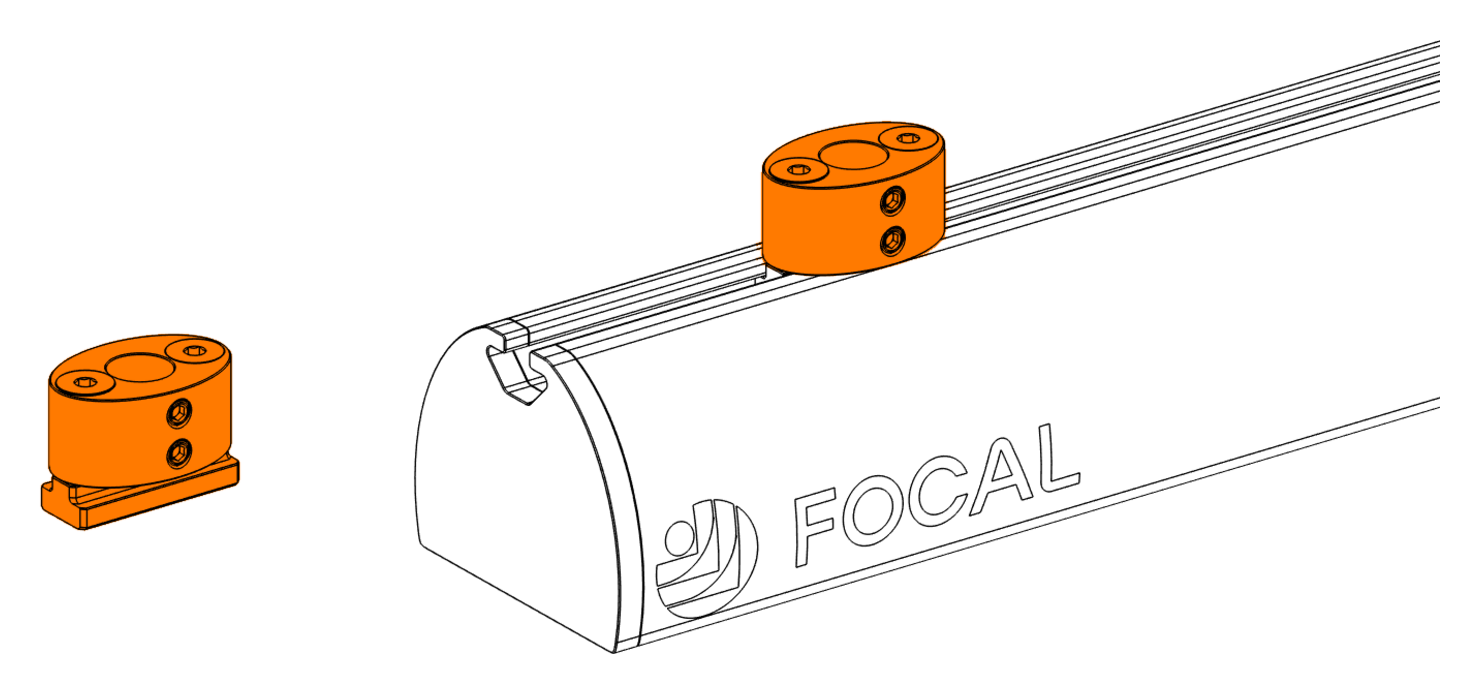
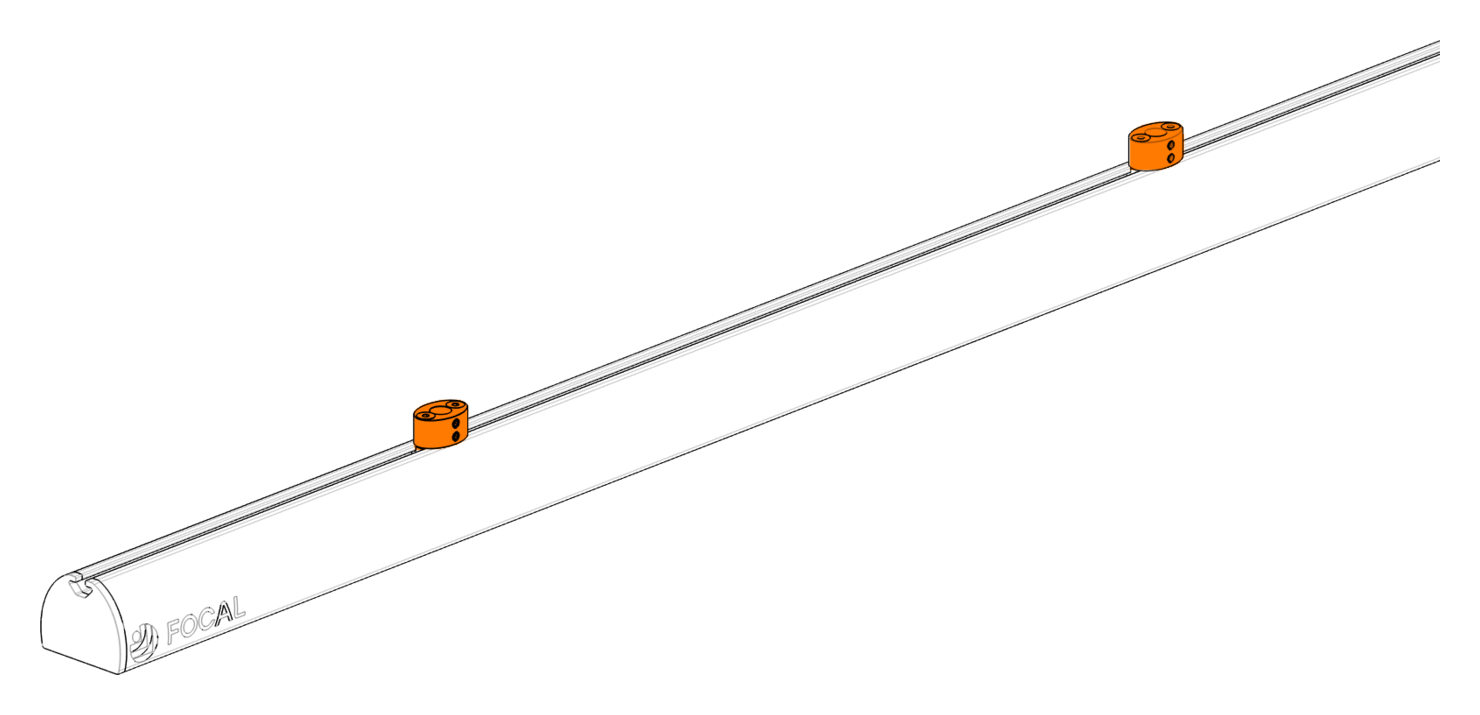
Use a ceiling mount or a beam or joist mount, whichever fits your structure. Fasten each bracket with #12 wood screws into solid wood, or through-bolt it with the 1/4-20 screws, washers and lock nuts. Space the brackets to match the rail blocks. Cut each pipe so the rail hangs at the site plan height, allowing 2.25" for the rail itself, then deburr the cut.
Use the parallel bracket where you can fasten to the underside of an overhead member.
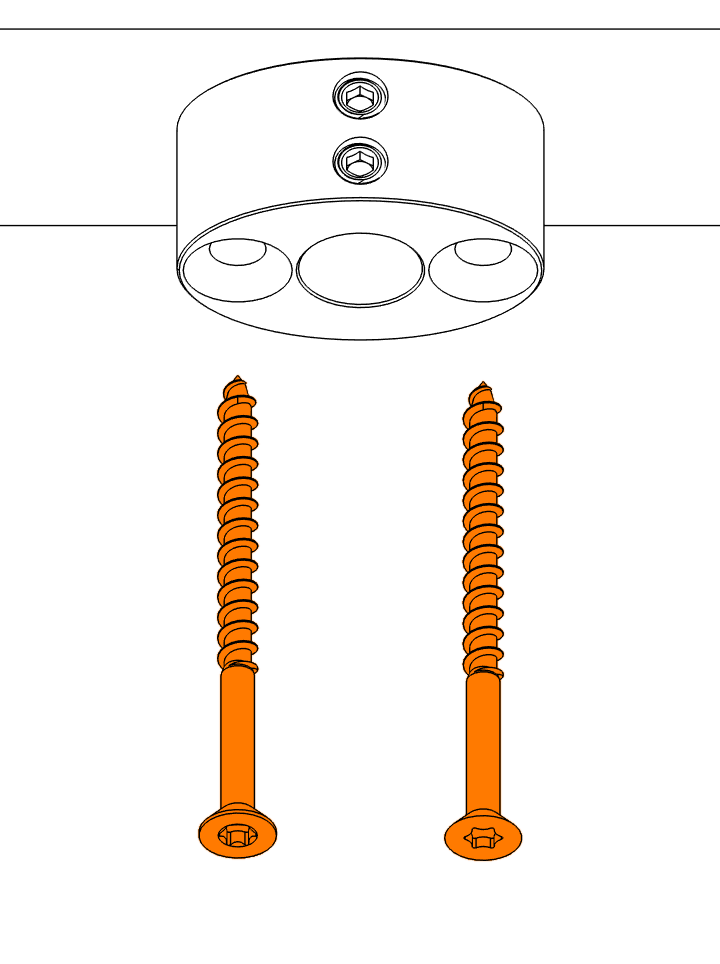
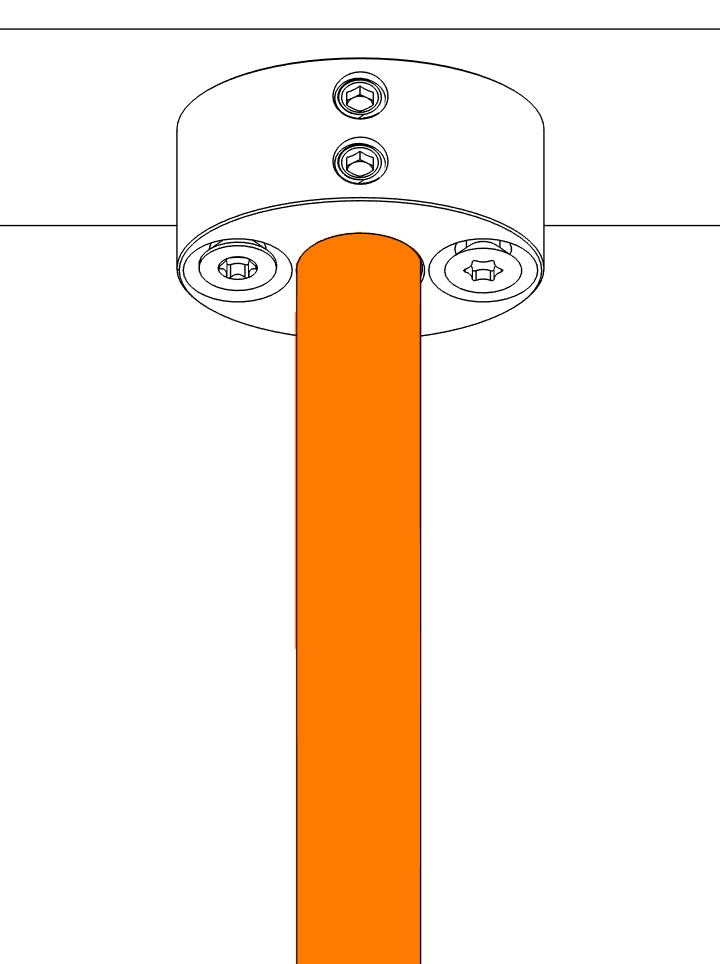
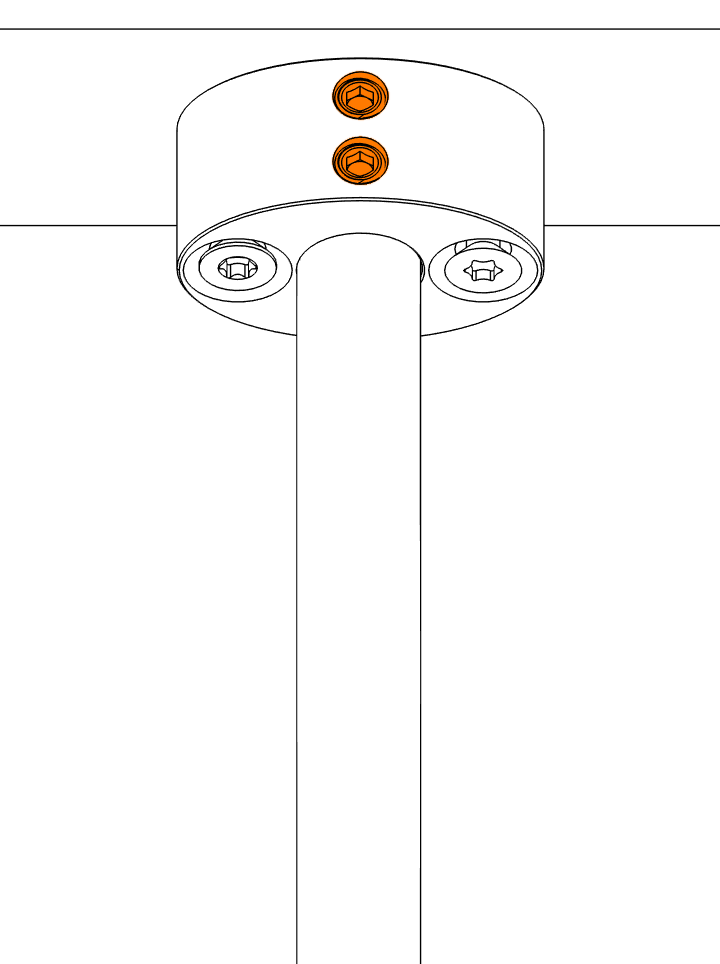
Repeat for the second mount, matching the drop length so the rail hangs level.
Use the perpendicular bracket where the only solid surface is a vertical face, such as the side of a beam or joist.
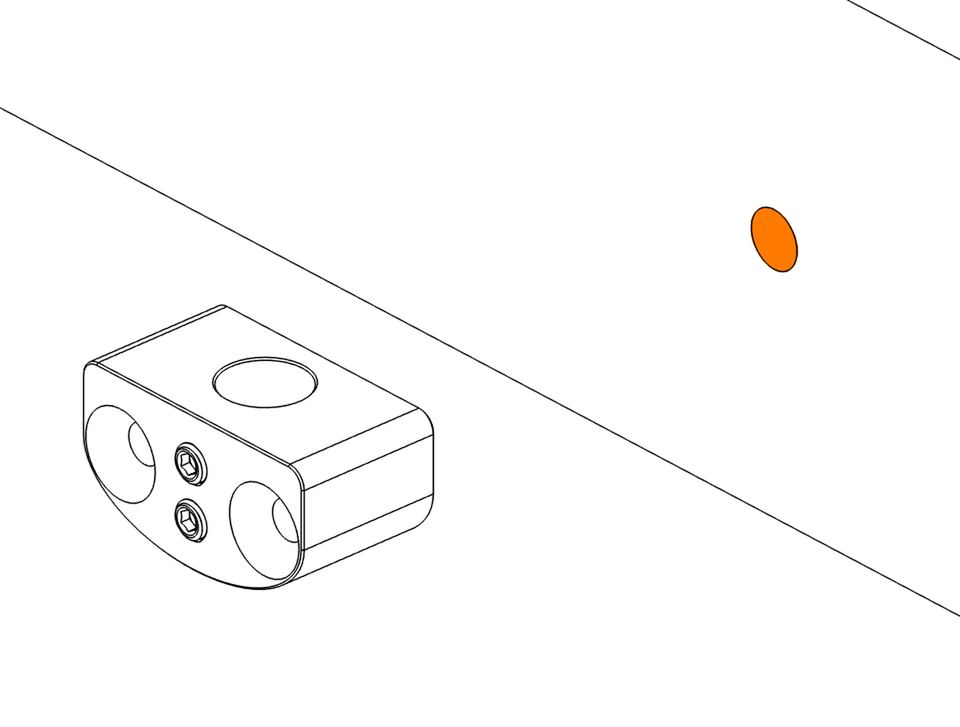
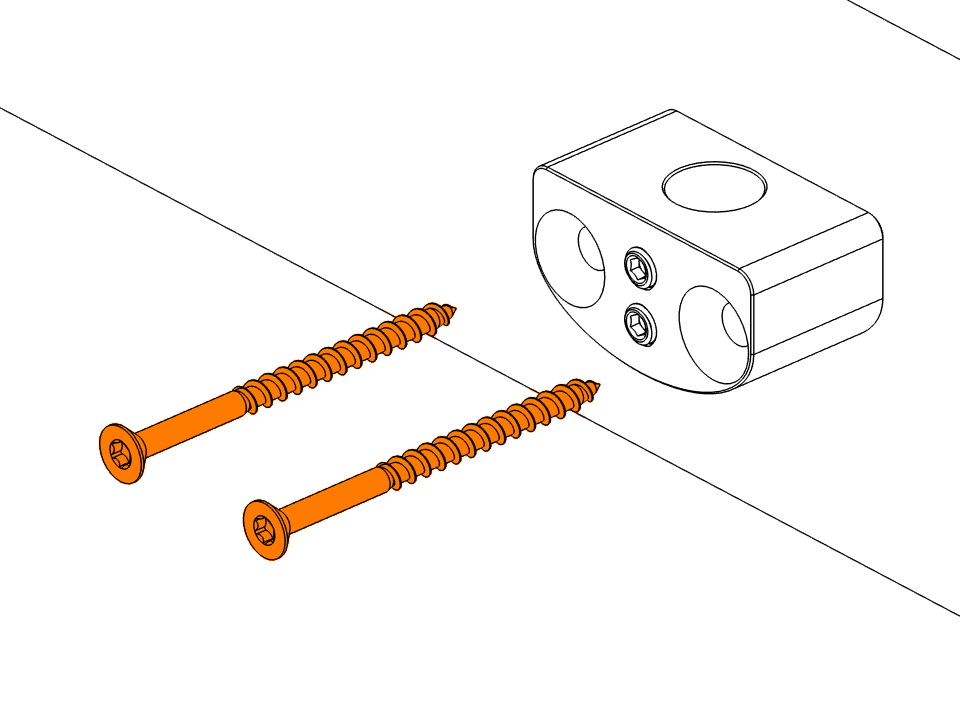
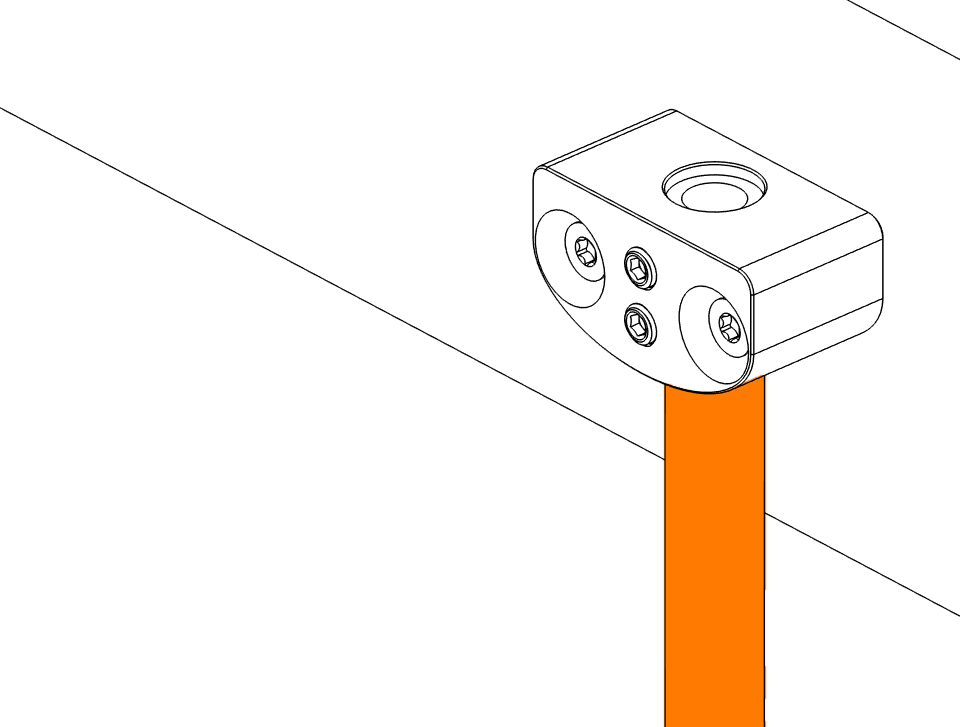
Repeat for the second mount, matching the drop length so the rail hangs level.
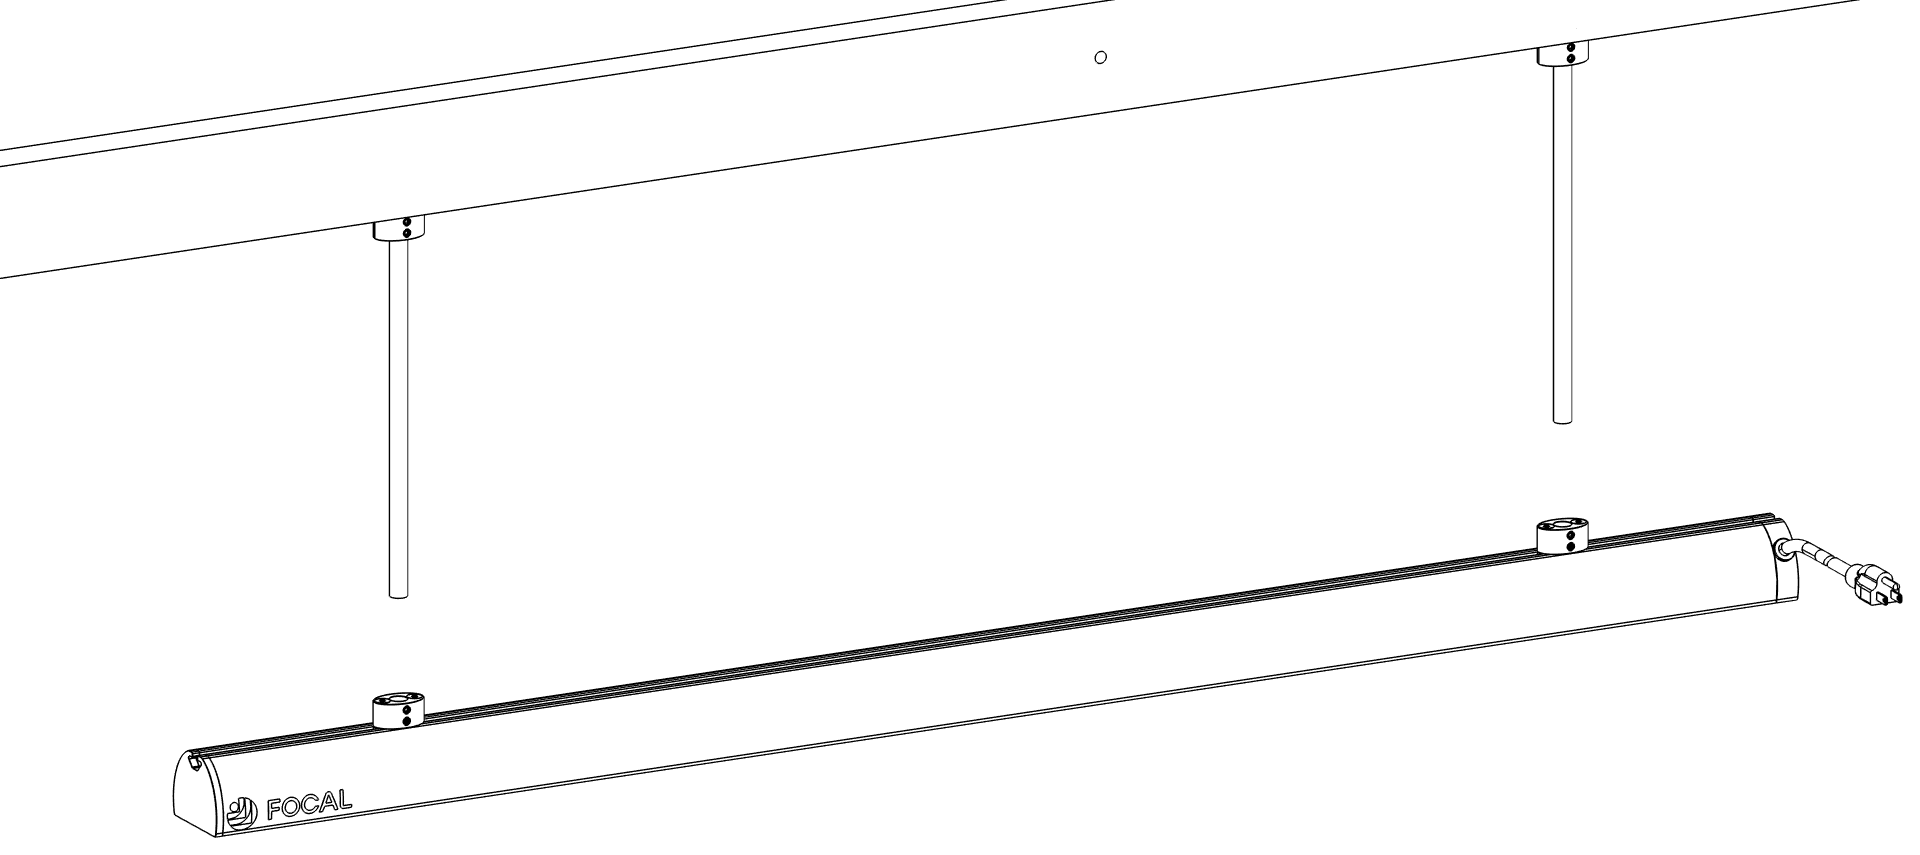
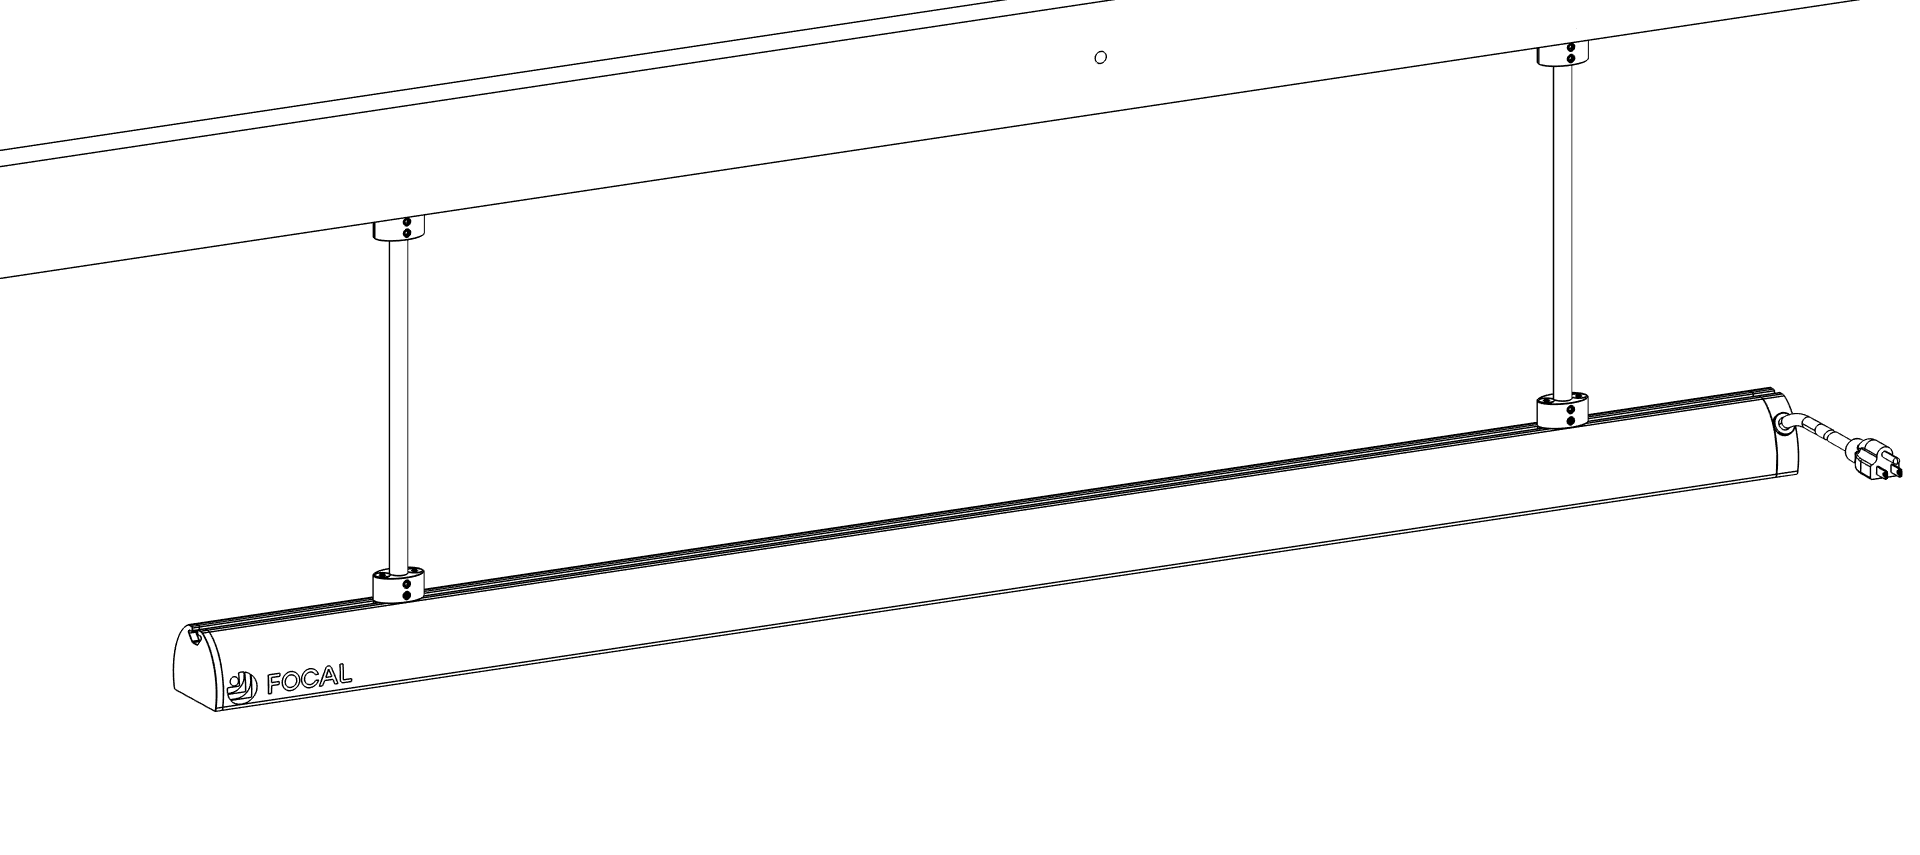
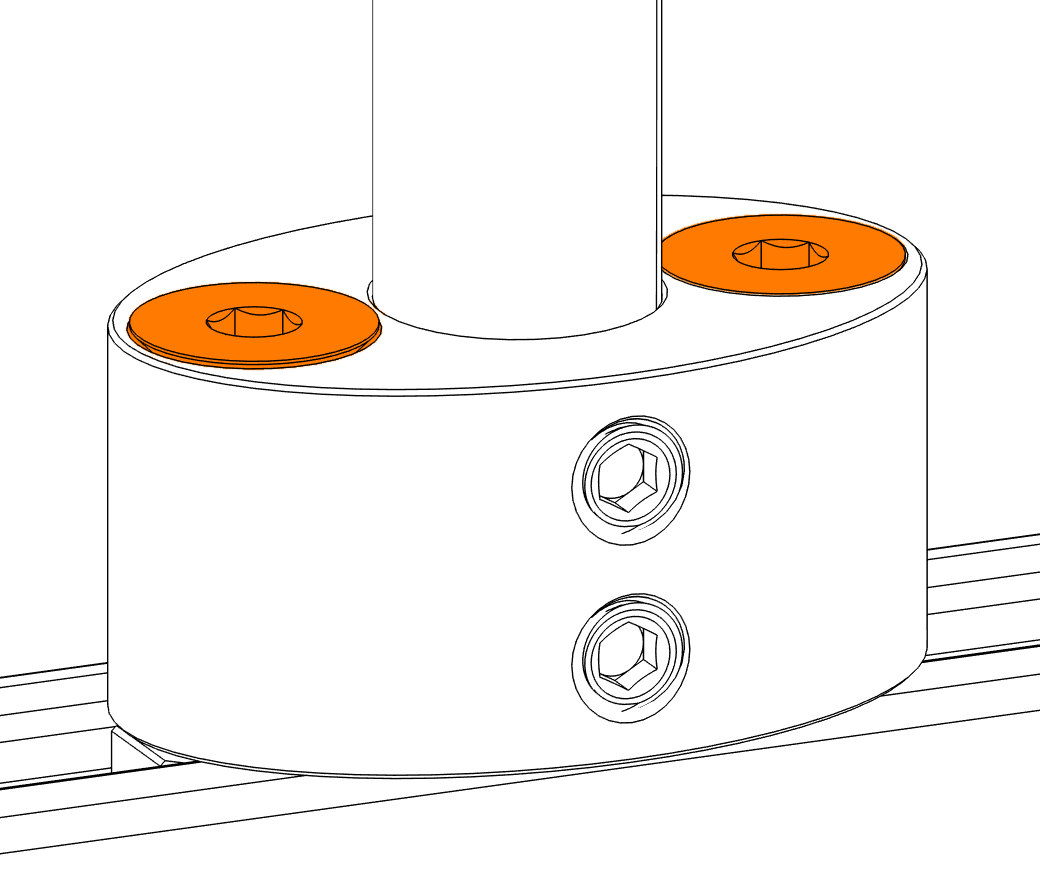
Make sure the pipes hang straight down and give the rail a shake to confirm it's solid.
Go back to every mount and re-tighten each set screw with the 1/8" L-wrench, using the full handle until it stops.
Under-tightened set screws will allow the rail to drop under load.
Different mounting methods
Any mounting hardware must connect to the rail through T-nuts, but some sites need a different approach:
- A threaded rod as a drop-down
- A U-bolt to attach unistrut to a pipe
- Mounting directly through a wood beam without a drop-down, using the longer 1/4-20 flat-head screws with SAE washers and nylon lock nuts
- An L-bracket to unistrut when rails run perpendicular to a wall
Post-mount checks
- Set screws fully tightened on every mount
- All other fasteners fully tightened
- Pipes plumb and rail level
- Rail height and location match the site plan
- All clearances in Safety & Clearances are met
- Rail swings no more than 1/4" from rest in either direction
If the rail swings more than 1/4", add aircraft cable or bracketing to stiffen the assembly before loading heaters.
Plug in the rail
Plug directly into a dedicated, GFCI-protected outdoor outlet on its own circuit.
Use an extension cord, power strip, or a circuit shared with other loads.
Run the cable along the rail, up the mounting hardware, or along parklet features so it stays out of sight from diners and the street. Plug into the outlet, then turn on the rail switch. It’s on the cord-exit end, underneath the rail. Secure any slack so nothing hangs below the bottom of the rail.